What the entrance hole tells you
Entrance diameter influences access, but the size of the chamber and the intended species matter alongside it.
A number is not a promise
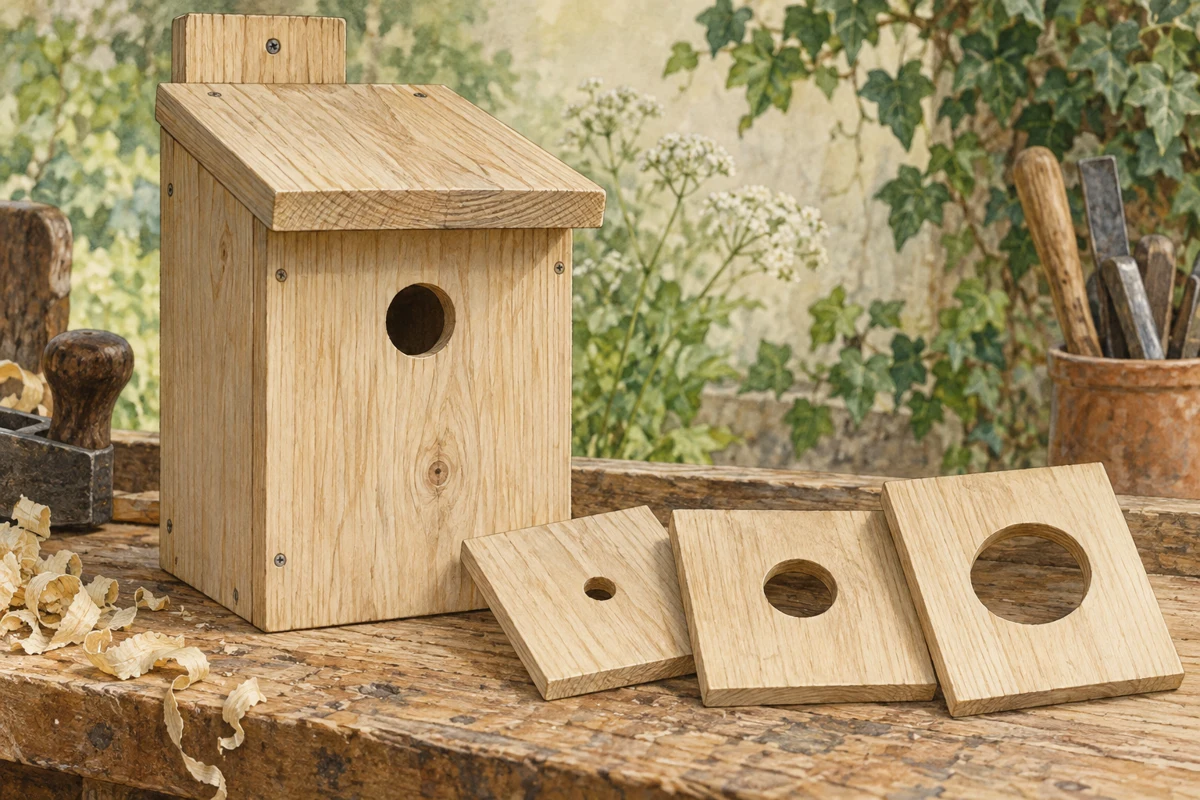
A label saying 32 mm describes an opening, not a reservation for one species. Several birds may fit through it, and the smallest bird able to enter is not necessarily the one that will occupy the box. Competition, local populations and the surrounding habitat still influence the outcome.
For a general small hole-fronted box, BTO's buying guidance recommends a 32 mm opening. Smaller openings can limit access by some larger birds, but published plans differ over the smaller diameters. Rather than treating a chart as an exact exclusion system, choose a complete, current plan for the bird you hope to accommodate. Check the internal dimensions as well as the hole.
Measure the useful opening
On a purchased box, inspect the actual aperture rather than relying only on the outer packaging. Paint, splinters or a badly fitted protective plate can reduce or distort the opening. The edge should be sound and smooth enough not to leave sharp projections. A ruler across the centre gives a more useful measurement than estimating from a product photograph.
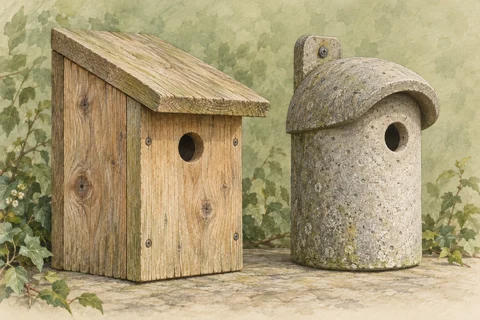
An oval opening should not be interpreted using the diameter of a round hole. Swift designs, for example, use a different arrangement from an ordinary tit box. Replacing one shape with another because both seem roughly the same area can change how the entrance works. Follow the box designer's specification.
The chamber behind the hole
Imagine enlarging the entrance of a tiny decorative box for a larger species. The bird might then fit through the front while the space behind it remains unsuitable. The height above the floor, room for a nest and the overall construction must form a coherent design. A larger bird generally needs more than a larger doorway.
This is also why a removable entrance plate is a limited accessory rather than a conversion kit. It may help protect the rim of a wooden hole, but it cannot improve poor insulation, a cramped chamber or an exposed site. If several parts of a box need changing, buying or making the correct design may be a clearer solution.
Use a plan when building
Keep the species plan beside the workbench and mark the centre of the hole before drilling. Check the intended distance from the floor on the finished assembly, allowing for how the panels overlap. A measurement taken from the wrong edge can alter the chamber even when the drill bit is correct.
After cutting, inspect both faces for splintering and make any finishing adjustments before assembly. Do not leave a sharp metal liner or a rough projecting screw around the passage. Photograph the finished empty box with a ruler if you want a record; that avoids having to measure it later when birds may already be using it.
Leave occupied entrances alone
Do any measuring, smoothing or fitting before the box is in use. Once birds have begun nesting, leave the opening and its surroundings unchanged. A plate added midway through breeding could obstruct access or disturb the occupants. If damage creates an urgent welfare concern, seek specialist advice instead of experimenting with a new aperture while adults are returning.