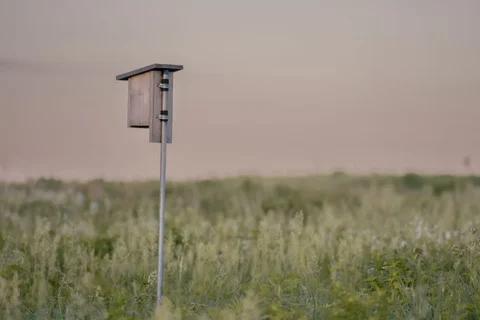
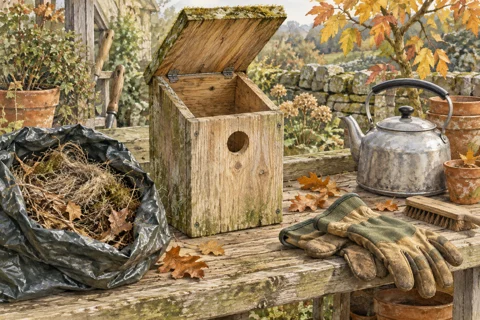
Planning a nest-box camera before birds arrive
Install and test equipment while the box is empty, then accept that a failed picture may have to wait.
Begin with the box, not the screen
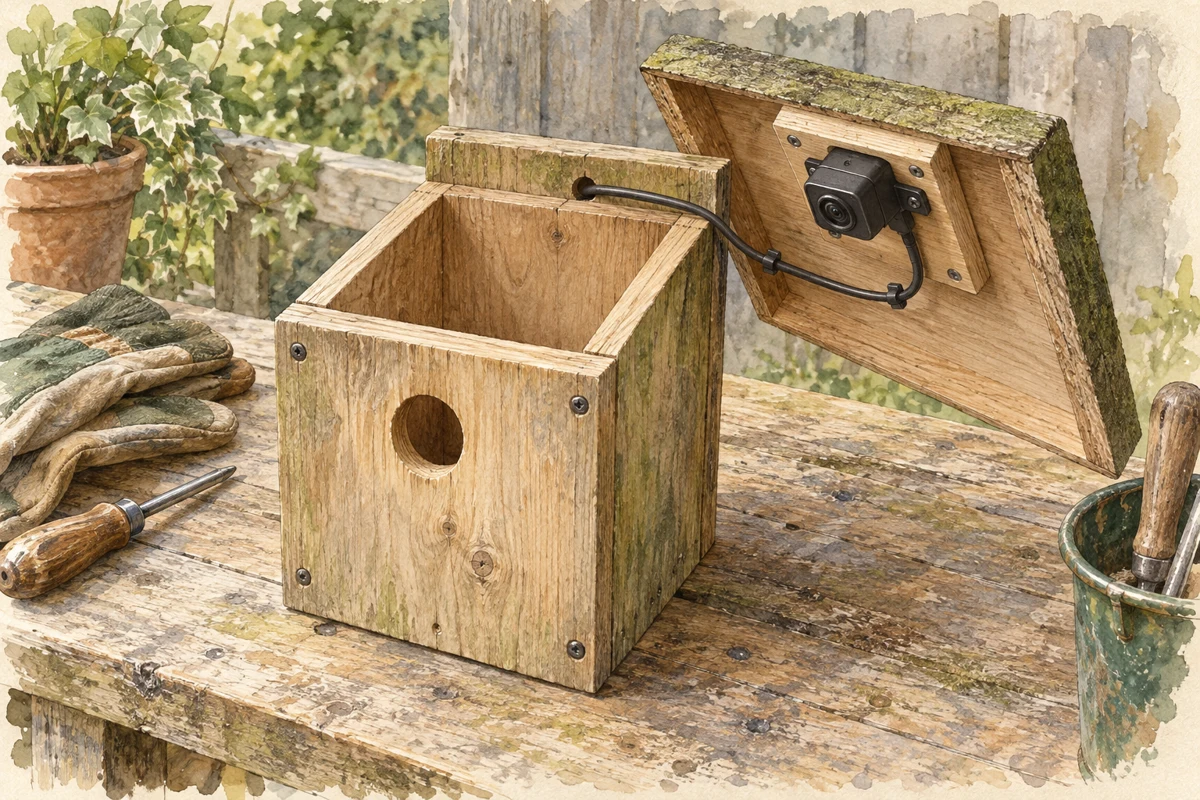
A camera gives a view into a small space, but the nesting chamber still has to function as a nest box. Choose equipment intended for the purpose and a box with enough room for it. A large camera housing squeezed into an unsuitable chamber can make the interior less useful even if the picture is excellent.
Read how the unit attaches and how its cable leaves the box. Wires should not form loose loops inside the chamber or run across the entrance. The installation must preserve the roof's weather protection and the box's ventilation and drainage arrangements. Do not drill additional holes at random to make a connector fit.
Test the whole route indoors
Set up the camera, power supply and viewing device before mounting anything outdoors. Check that the image is usable at the intended distance, that the system reconnects after power is restored and that the storage settings do what you expect. A brief test on a workbench is easier to correct than a fault discovered above a ladder.
For wireless equipment, the distance through a wall can matter more than the distance across the garden. Test reception near the proposed location while the box is still empty. Use only the manufacturer's suitable outdoor connections and power arrangements; ask a competent electrician where the installation requires electrical work.
Set a limit on intervention
Finish the installation well before birds settle. Once nesting begins, a blurred lens or lost connection is normally a reason to accept a missing view, not to open the box. Keep the welfare of the occupants separate from the convenience of watching them.
Use equipment designed to avoid intrusive light. Do not add a bright lamp because the picture is dark. A new noise, cable movement or repeated approach to the box can also be disruptive even if the camera itself is small.
Interpret a narrow view cautiously
A camera shows only what falls within its frame. A bird just outside the image may be resting rather than missing, and a short interval without an adult does not establish abandonment. Avoid drawing an urgent conclusion from one clip, especially when you cannot identify the stage of nesting.
If footage suggests a genuine welfare problem, contact an experienced wildlife adviser and describe what you observed. Do not open the box to turn an uncertain image into a closer investigation. For structured nest monitoring, use the training and code of conduct of an established scheme.
Choose what happens to the recordings
Some systems store clips locally while others require an online account. Check the storage period, subscription requirements and whether recordings remain accessible if you stop paying. These are product choices to understand before the equipment is installed, not during the first busy week at the nest.
Set the camera clock correctly and test a short recording. A clip with the wrong date can become confusing when compared with handwritten observations. Decide whether you need continuous footage or selected events; more stored video can mean more material to organise without answering a better question.
Keep a local note of the equipment model and settings so another household member can operate the viewer without going near the box. If a setting can be changed remotely, that is preferable to a physical adjustment, but avoid repeatedly changing lighting or other features in response to every imperfect image. Reliability and a quiet nesting space are more valuable than a constantly adjusted live stream.
Think before sharing
If you publish clips, keep neighbouring windows, private conversations and the exact location of a sensitive nest out of the material. Label observations as observations rather than inventing a story about individual birds' intentions. The most interesting footage often needs very little commentary.