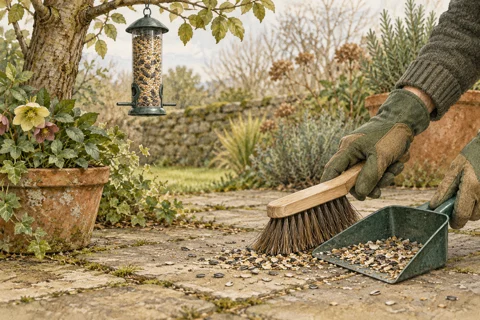
Choose a feeder you can take apart
The most important demonstration is how a feeder comes apart. Capacity and appearance come after access to its dirty corners.
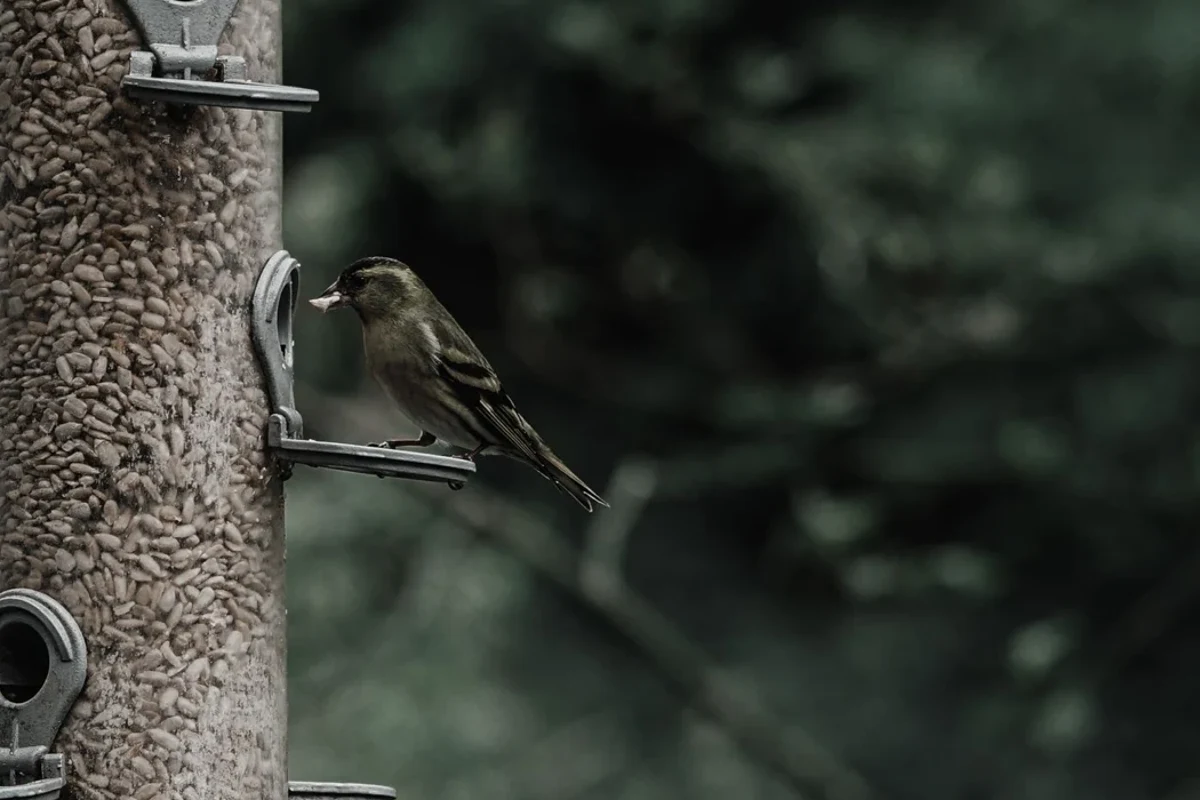
Ask to see the base removed
A feeder can look immaculate on a shop shelf while concealing awkward ledges behind its ports. Before buying, find the instructions or a demonstration of disassembly. You should be able to reach the surfaces that hold food and receive visits, not just rinse through the central tube.
Check whether tools are required and whether replacement parts are available. A small screw is not necessarily a problem if it is accessible and corrosion resistant. A hidden fastener that strips easily can turn routine cleaning into a job people postpone.
Match the ports to the food
Different foods need different arrangements. Fine nyjer can spill through openings designed for larger seed, while peanuts belong in a suitable rigid mesh feeder. Using whatever food is to hand in the wrong container can create waste or make feeding difficult.
Current UK advice favours hanging feeders over flat feeding surfaces. Examine the whole product: a hanging tube with a broad collecting tray can still provide a flat surface where food and contamination accumulate. Do not assume the word hanging settles the question.
Buy for the amount you can manage
A large capacity is useful only if the contents remain fresh and the routine stays manageable. You can partly fill a feeder, but a smaller model may be easier to wash and dry. For a garden with only occasional visitors, maximum volume is often a poor buying criterion.
Imagine using the feeder in winter gloves. Can you release its lid without scattering parts? Will you have somewhere to set it down while cleaning? These small details influence whether the care routine actually happens on a cold, wet morning.
Inspect edges and weather protection
Look for smooth openings, a secure hanging point and drainage that is accessible for cleaning. A cover should reduce rain exposure without creating an unreachable damp pocket. No design keeps every storm out, so ease of inspection remains important.
Avoid equipment with damaged mesh or brittle plastic that is already cracking. A bargain needs to remain safe after repeated dismantling, not merely survive the journey home.
Try the cleaning sequence before first use
Take the empty feeder apart over a tray and reassemble it once before putting food inside. This reveals whether a clip has a particular orientation or whether a base needs to lock in a certain way. Keep the instructions or save them locally so the method is available after the packaging has been recycled.
Check that the brush you own reaches each component. A narrow tube with an inaccessible base may require a different brush, whereas a fully removable section may be simpler to clean. If the product cannot be reassembled securely without excessive force, resolve the issue with the seller before hanging it outside.
This small dry run is also useful when somebody else will share the care. It turns a vague instruction to wash the feeder into a task both people have actually seen.
Leave room for a seasonal pause
Buy equipment that can be emptied and stored as easily as it can be filled. Seed and peanut provision follows the November–April season under current BTO advice. An easy-to-clean feeder makes that transition straightforward and avoids a half-forgotten supply hanging outside through the pause.